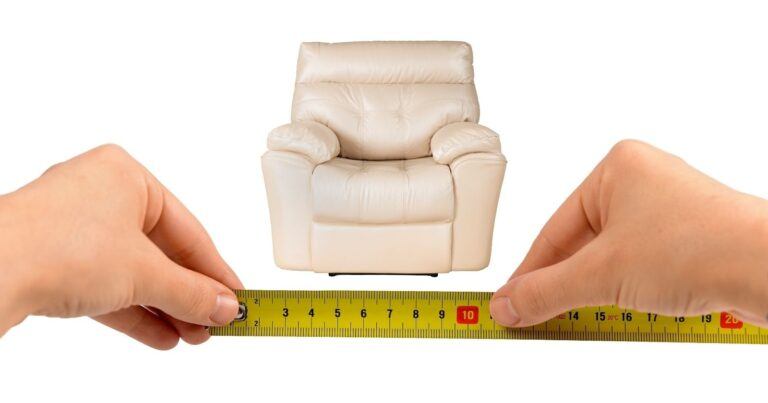
It is moving day, and you are wondering about how to remove the back of a recliner chair? If you have this type of chair, you know how tedious it can be to remove and reinstall its parts. Luckily, almost all of these appliances work likewise. Also, most of them come with options to easily detach the back. Some models have thumbscrews, while others have clips and locking tabs. Whatever alternatives they come with; you must review your furniture to ensure that you can use those methods.
To help you in your procedure, we have come up with this walkthrough. It contains all the necessary step by step guide that you can use to remove the back of a recliner. By following the instructions, you easily carry out the procedure and transport your furniture in the easiest way possible. Some recliners are standalone chairs, while others are part of a sofa.
While the methods for removing a recliner’s back are pretty much the same, there are little differences based on the manufacturer of the furniture. Some come with locking tabs, thumbscrews or clip, but the end result is not hard to achieve. This guide is intended to teach you how to remove the back of a recliner.
Common Types of Backs– Which one do you have?
There are three types of recliners backs:
Locking Tab or Catch
The tabs securely hold the back to stay in place. You can remove them with a screwdriver, while some people make use of their hands. However, using a screwdriver is highly recommended. On the other hand, a catch snaps or automatically lock itself into place when you slide back on the recliners back. This is more common with Lazy Boy recliners when it comes to removing the back..
Locking Levers
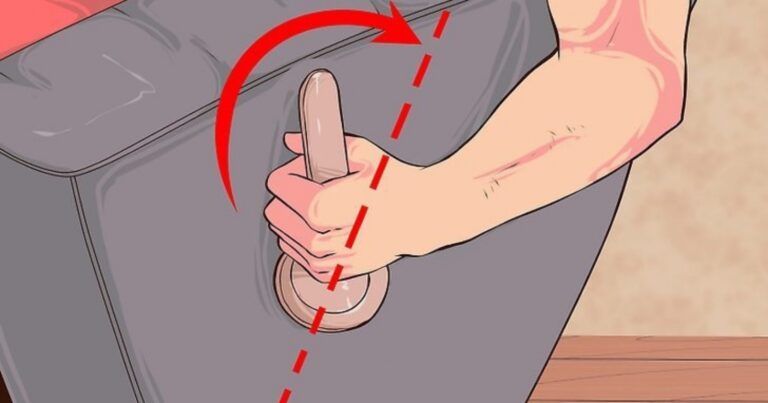
There are some metal posts connected together at the seat on each side of the back. The recliner’s brackets slide onto these posts and remain secured. You just have to flip it if you want to lock the back in a proper position.
Bolted on Backs
There are some recliner’s backs that are secured with bolts. However, this is rare. The backs are held in place by having them secured to the posts of the seats. To detach them, you will simply lift the panel that exposes the bolts to unbolt the back.
How To Remove the Back of a Recliner with Locking Levers

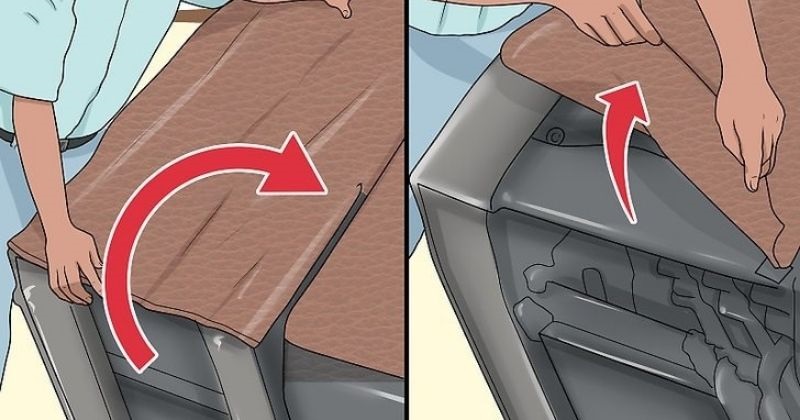
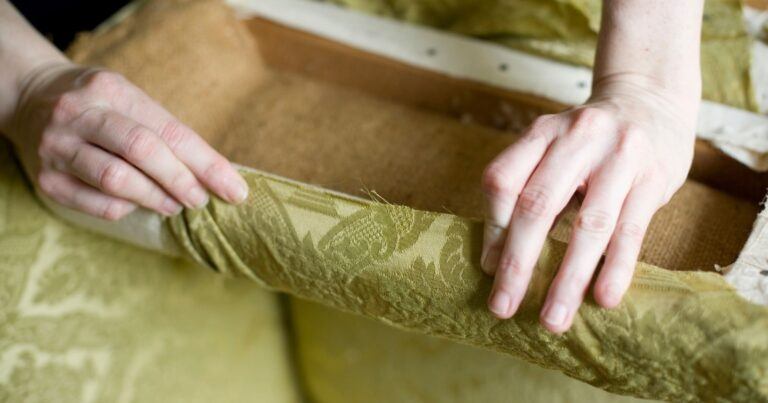
Back of a recliner with locking levers can be removed by making the back of the sofa face up by pushing the sofa forwards. Many couches feature a removable back panel that, when raised, reveals the inner frame. You can either locate the Velvet Strip and unfasten it, or the Snap that secures the fabric to the frame’s base. When you’re done, raise the upholstery.
Check each of the sofa’s seat frames to see where the rear locking levers are located. On each side of the sofa, there is a metal lever that points downward at the area where the arm and back meet. Assuming your sofa is equipped with a center console, these levers will be situated between seats.
Look at the seams between the seats and the center table for any detachable pieces of fabric if the sofa doesn’t come with them. You can loosen each lever with your finger, in a pinch, or with a flat-head screwdriver. Remove the back of the sofa from its frame once the levers have been unfastened. You may remove a sofa’s center console by lifting each seat and the console out of its enclosure.
How To Remove the Back with Bolted Bars

For recliner back with a bolted bar, turn over the sofa to locate the base bars. If the sofa has base bars, you would see the bars bolted from one base’s end to another. Unfasten the bolts of the base bars. Check the head of the bolts securing the base bars.
Unfasten each bolt from the base bars using a drill with a proper bit. Remove the last bar with the help of someone that can hold or stabilize the sofa for you while you are at it. This way, its components will not roll away, get damaged or damage nearby objects.
How to Remove the Back of a Recliner with a Locking Tab
Backs with locking tables or catches on couches instantly snap into place when the back is slid on. Using a flat screwdriver is the quickest way to remove the tabs. Using your hands is not recommended. To tighten the back brackets, unscrew the fasteners and re-tighten them if necessary. Using a screwdriver, check to see if the tab is properly inserted in its slot once the back is installed.
With locking tabs, pull the bottom half of the back of a recliner and press the tabs in a forward’s manner to unlock the mechanism of the sofa. Lift the sofa’s back up and away from you. Using a gentle rocking motion, you need to gently slide it out of the sofa’s mounting brackets.
Reinstallation

The reinstallation is a reverse of what you did when you removed the back of your recliner, so it is not a difficult process. First, you need to take pictures as you remove the parts of the sofa, such as the base, the frame, and other relevant pictures. This way, you will understand how the sofa is meant to look like after you have put it back together.
Also, keep the screws, bolts and other hardware in different plastic bags. Position the brackets of the recliners back over the lower half of your recliner’s brackets. This may be a little bit frustrating to you because correctly lining the brackets up usually takes time.
Once you have been able to achieve perfect alignment, you can slide the recliners back into place easily. Finish off with added screws, fixing tables or adjusting levels to be sure that you have properly secured and locked the back.
Tips to Use for Preparations
Repairing a recliner is easy for the average person to tackle. This article is a quick guide to see firstly whether it’s worth repairing, how to repair a recliner, and what tools and equipment you might need to do so.
Type of Problem
First of all, recliners are in the main fairly sturdy pieces of furniture with bases of wood or metal, and with leather, fabric or synthetic upholstery. So, the main areas that tend to go wrong on a recliner are superficial scratches or tears in the upholstery. Next the mechanism of the footrest can stick or be noisy in operation. The last area tends to be cracks in the actual base or frame itself.
Tools Required
Depending on which part or parts of the chair are broken, the tools that are required are commonly found in the average toolbox or can be purchased from the local home DIY store. Upholstery scratches commonly require olive oil or shoe polish and cotton buds.
Fabric tears may require needle and thread, scissors and a staple gun. Old fabric can be removed with a screwdriver or pliers. You might also be able to get fabric repair swatches from where your recliner was bought from, which you simply glue in place.
Upholstery Scratches and Rips
This is for scratches in leather or synthetic upholstery. Try olive oil applied with a cotton bud to leather or synthetic upholstery along the line of the scratch. This will help to blend the scratch in. If it is still showing then try a small bit of shoe polish, again on a cotton bud, along the line of the scratch to help it blend in. Use the color of shoe polish to match the color of the upholstery and then use a dry cotton cloth to buff over the whole rest of the chair.
Fabric upholstery may need professional re-upholstering depending on what condition the material is in. Antique recliners or a recliner bought as part of a set would benefit from professional intervention. Remember to check underneath the cushions before you send it away as the DVD remote or jewelry can often be found there. Small tears and rips can be repaired either with a fabric repair patch bought from the recliner chair supplier or with needle and thread.
Reclining Action Faulty
The most common fault with this is a squeaking noise, which can be remedied on a manual lift rесlinеr chair. If the chair is a motorized recliner, then do not attempt to remedy squeals but call in a professional, as parts of these are electrical and you need to be qualified to deal with that.
You will need another person to help as most chairs need two people to push them over onto one side, onto a piece of old carpet or sheeting so it won’t mark your decoration. On its side you can then see underneath.
How to Remove the Back of a Recliner: My Conclusion
Knowing how to remove the bасk оf a rесlinеr makes it easy for you to transport your furniture from place to place. Additionally, it helps you protect your sofa by preventing any damage to it and ensuring that it lasts longer. We hope that our step-by-step guide has been helpful and that you will find the right answers that you need concerning your recliner. Pleas leave any comments below. Thanks for reading!

