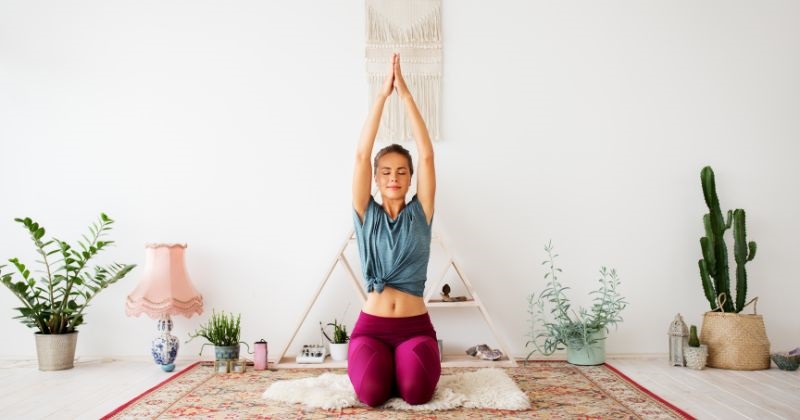
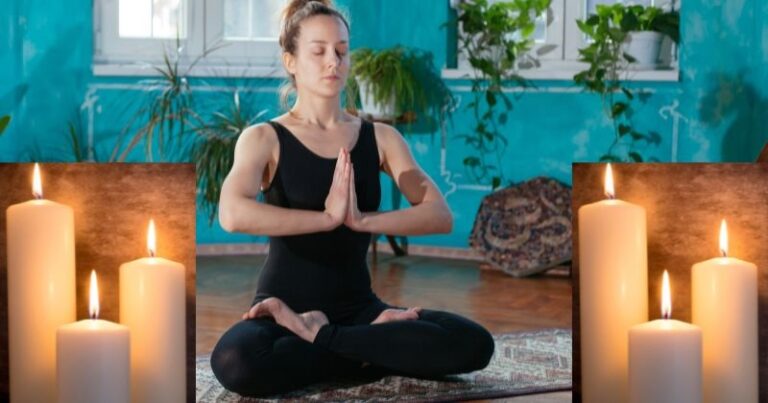
Take some time to yourself and relax with this easy step-by-step guide on how to create a yoga studio at home. With the rise of technology, more and more people are choosing to practice their Yoga poses at home instead of going out for classes and I totally understand why! I feel that creating your own Yoga space can be a great way to save money, customize the atmosphere that works best for you, and make it all about YOU.
And don’t worry – it doesn’t have to break the bank or take months in advance just like putting up a professional one would have. Here is an overview almost anyone can use – whether you live in small apartments or giant houses – on how to turn your living room into a sanctuary where you will find solace during stressful days while still having fun practicing any type of yoga that could come to mind! Let’s begin!
Step 1: Choosing the Right Space
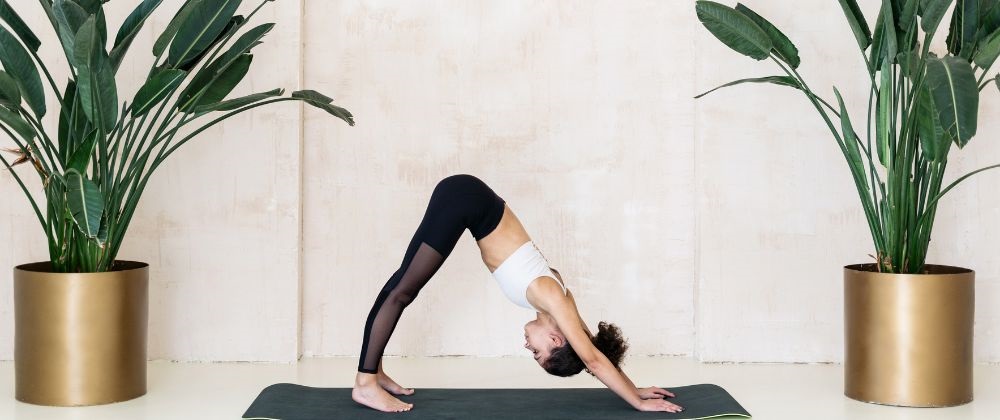
When creating a yoga studio at home, the first step is to assess the available space. Whether you have a spacious room or a cozy corner, finding an area where you can practice without distractions is crucial.
If you’re working with limited space, fear not! Get creative and consider utilizing unused corners, alcoves, or even a part of your living room. The key is to have enough room to move freely and stretch comfortably.
Step 2: Clearing and Preparing the Space
Before you start transforming your chosen area into a yoga oasis, it’s important to clear out clutter and create a sense of calm. Remove any unnecessary items and distractions from the space. This will help you establish a dedicated environment for your practice.
Take a few moments to clean and organize the area. Dust off surfaces, vacuum the floor, and create a clean canvas for your yoga sanctuary. As you prepare the space, think about adding personal touches such as calming colors, plants, or inspiring quotes to make it inviting and reflective of your style.
Step 3: Essential Yoga Equipment

To fully enjoy your home yoga studio, you’ll need a few essential pieces of equipment. First and foremost, invest in a high-quality yoga mat that provides adequate cushioning and support. Look for a mat that suits your preferences in terms of thickness and material.
Additionally, consider incorporating props and accessories to enhance your practice. Bolsters, blocks, and straps can help you deepen stretches and maintain proper alignment. Yoga blankets and pillows are perfect for relaxation and meditation. Find the props that align with your practice and make your sessions even more enjoyable.
Step 4: Setting Up Lighting and Ambiance
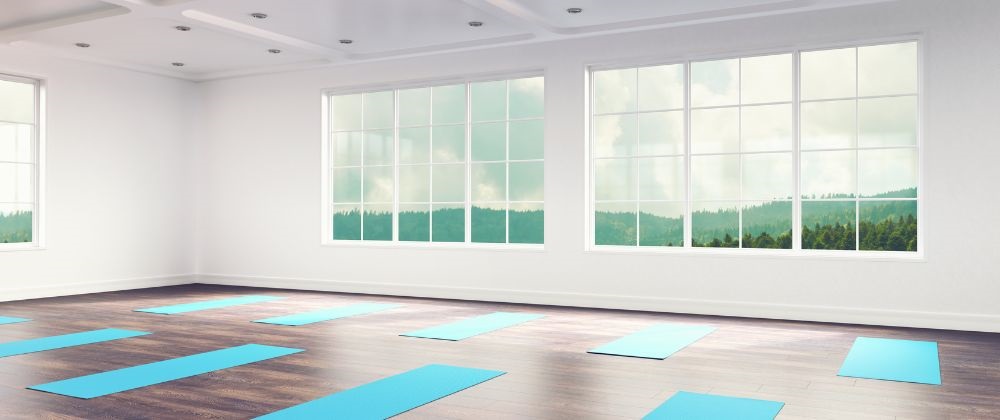
Creating the right lighting and ambiance can significantly enhance your yoga experience. If possible, choose a space with ample natural light, as it can invigorate and uplift your practice. Install sheer curtains or blinds to control the amount of light and ensure privacy.
For evening or low-light practice, artificial lighting becomes essential. Opt for soft, warm lighting options that create a soothing atmosphere. Experiment with floor or table lamps to find the perfect balance between functionality and ambiance.
Step 5: Soundproofing and Noise Control
A serene yoga studio requires a peaceful environment. However, external noises can disrupt your focus and relaxation. To combat this, consider soundproofing the space by adding sound-absorbing materials to the walls or using thick curtains. I don’t like noise and masking unwanted noise is a huge thing for me!
Background music can also play a vital role in creating a calming atmosphere. Choose soothing melodies or ambient sounds to accompany your practice. Invest in a small Bluetooth speaker to play your favorite playlists or guided meditations.
Step 6: Creating a Comfortable Atmosphere
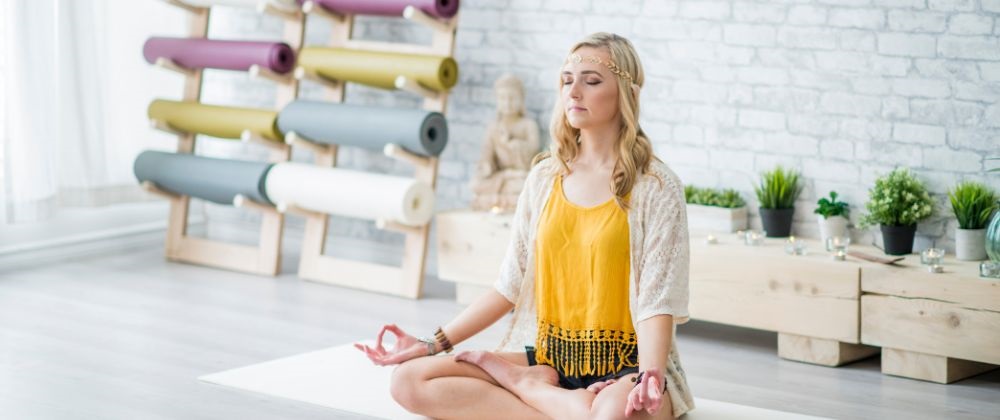
To fully enjoy your yoga sessions, it’s important to create a comfortable atmosphere within your studio. Pay attention to temperature control, ensuring it’s neither too hot nor too cold. Good ventilation and air circulation are essential for maintaining a fresh and breathable environment.
Depending on the climate, use fans, air purifiers, or heaters to regulate the temperature. Dress in comfortable, breathable clothing that allows for easy movement. The more comfortable you are, the more you can fully immerse yourself in your practice.
Step 7: Incorporating Storage Solutions
Organizing your yoga props and accessories is essential to keep your studio tidy and clutter-free. Consider adding shelves, baskets, or storage containers to keep everything neatly organized. This will not only create a visually appealing space but also make it easier for you to find and access your yoga essentials.
Designate specific areas for each item, such as a shelf for your yoga mat, hooks for straps, and a basket for blocks and bolsters. Labeling containers or using clear bins can further enhance organization. By having a designated storage system, you’ll be able to maintain a clean and inviting yoga studio.
Step 8: Personalizing Your Yoga Studio
Make your yoga studio a reflection of your personality and style by adding personal touches. Consider incorporating inspirational quotes or artwork that resonates with your practice. Create a vision board or focal point where you can display images or words that inspire and motivate you.
Bringing nature indoors can also enhance the ambiance. Add a touch of greenery with indoor plants that promote a sense of tranquility and connection to the natural world. Consider low-maintenance options such as succulents or air plants if you’re not a natural-born gardener.
Frequently Asked Questions about your Home Yoga Studio
As you embark on creating your own yoga studio at home, you may have some questions in mind. Below, I’ve answered a few common inquiries to provide you with further guidance:
How much space do I need to create a yoga studio at home?
The amount of space you need depends on your preferences and the types of yoga practices you intend to engage in. Ideally, you should have enough room to comfortably move and stretch without any restrictions. If you have a dedicated room, aim for a space that is at least 6 feet by 6 feet. However, even a smaller area, such as a corner or alcove, can suffice as long as it allows for your freedom of movement.
What type of flooring is best for a home yoga studio?
The flooring you choose for your yoga studio plays a vital role in providing stability and comfort during your practice. Opt for a surface that offers good grip and cushioning to support your joints.
Popular options include yoga mats, hardwood floors, or cork flooring. If you have a carpeted room, consider placing a sturdy mat or a yoga-specific mat on top to ensure stability and hygiene.
How can I create a calming ambiance in my home yoga studio?
Creating a soothing atmosphere is key to enhancing your yoga experience. Start by utilizing natural light whenever possible, as it promotes a sense of well-being. If you need to control the light or add privacy, opt for sheer curtains or blinds.
For artificial lighting, choose warm, dimmable lights to create a serene ambiance. Consider adding elements such as plants, essential oil diffusers, or calming music to further elevate the atmosphere and create a peaceful space for your practice.
Remember, these FAQs provide a starting point, but feel free to explore further questions you may have and consult additional resources for a more comprehensive understanding of creating a yoga studio at home.
My Conclusion
Congratulations on taking the first steps toward creating your own yoga studio at home! By following these simple guidelines, you can transform any space into a serene sanctuary where you can deepen your practice and find peace within.
Remember, the beauty of a home yoga studio lies in its personalization. Adapt the steps to your unique preferences and available resources. Whether you have a dedicated room or a cozy corner, your yoga studio will serve as a sanctuary where you can cultivate mindfulness, strength, and inner harmony.
Now you can follow me and, roll out your yoga mat, light a candle, and let your home yoga journey begin!

